


Dragon Photo Diagrams
I have probably folded this model more times than any other origami model. I folded it as a present for my wife on our very first date! Like many origami dragons, it derives from a stretched bird base. I have incorporated a pleat into it, and added a half-frog base to form the facial features. This model is high-intermediate, and can be folded from almost any paper. I have used a 40cm sheet of craft paper below.
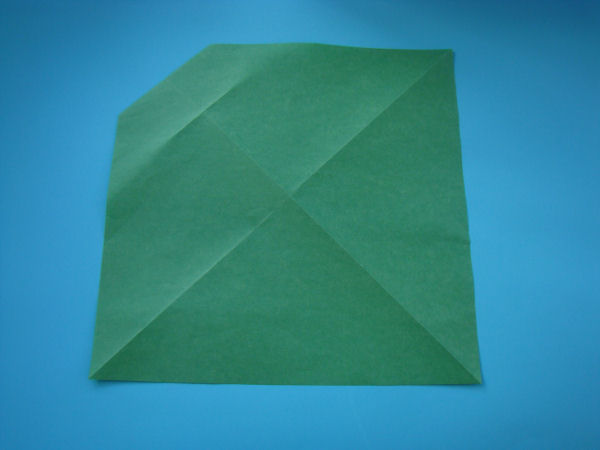
Step 1 Use a square of the same colour both sides. If you use a square of two colours, start with the white side up. This will create a model with white eyes and a white tail-tip.
Step 2 Valley fold the diagonals.
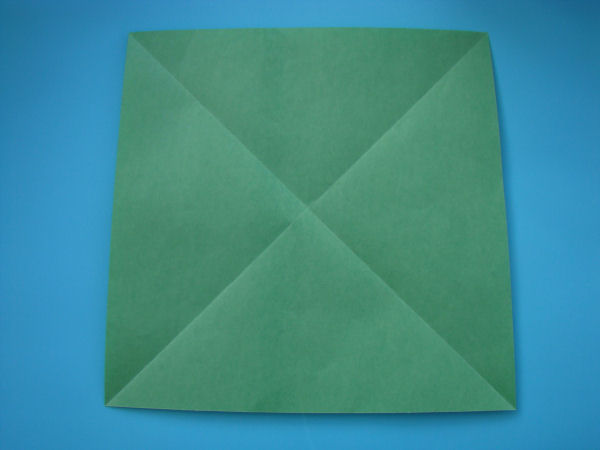
Step 3 Crease lightly.
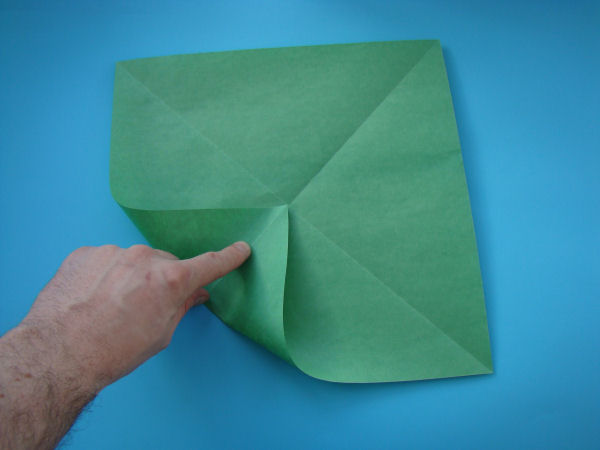
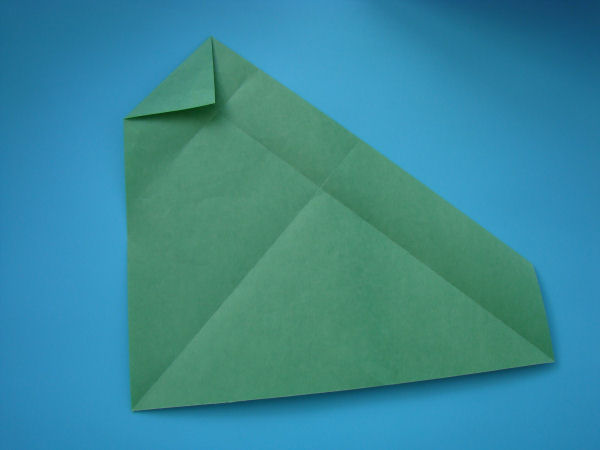
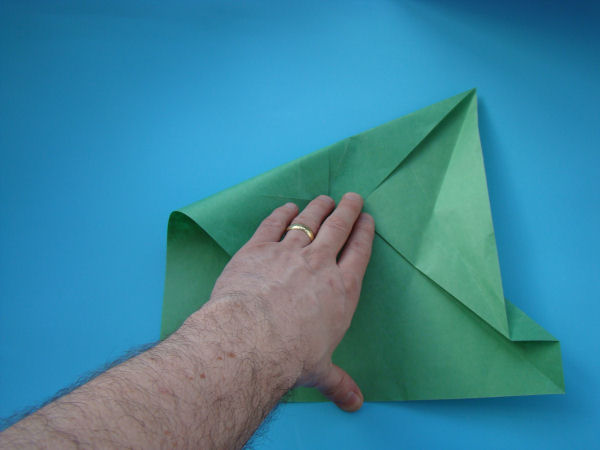
Step 4 Fold to the crease you have just made.
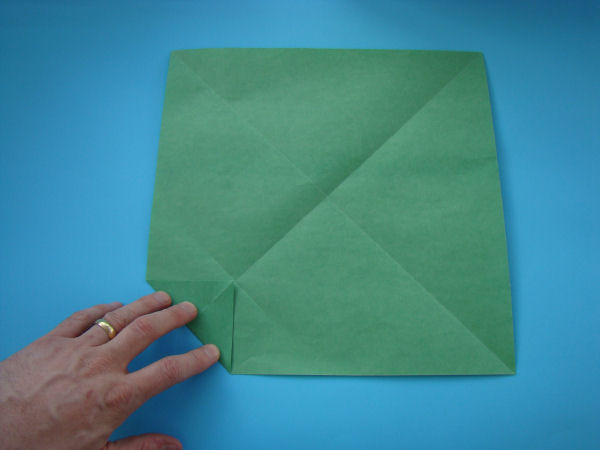
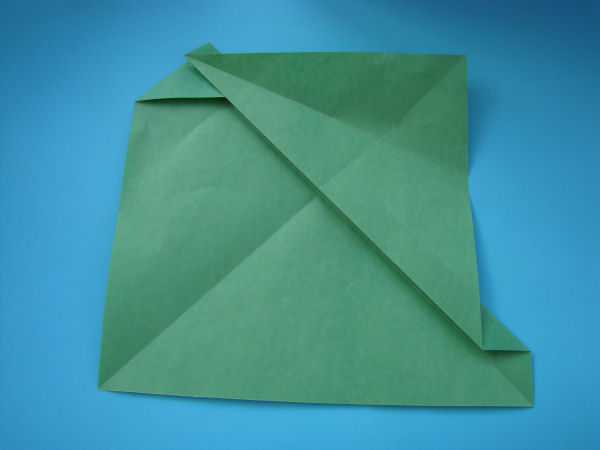
Step 5 Turn over.
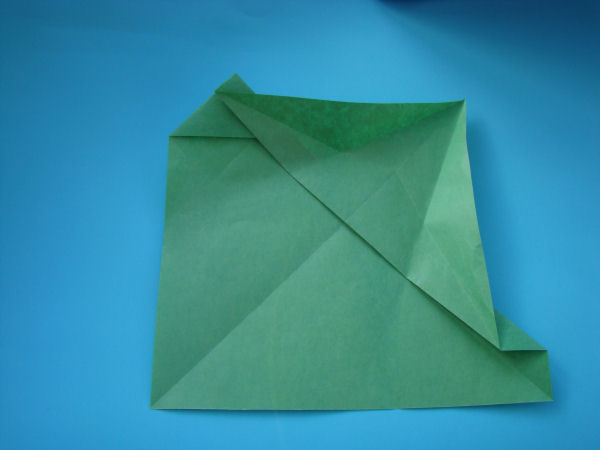
Step 6 Fold flap over.

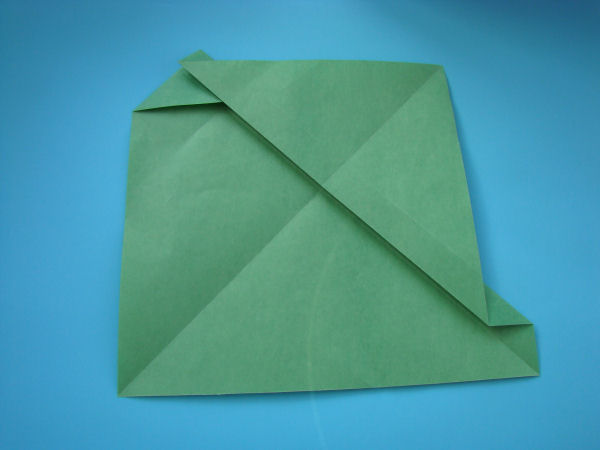
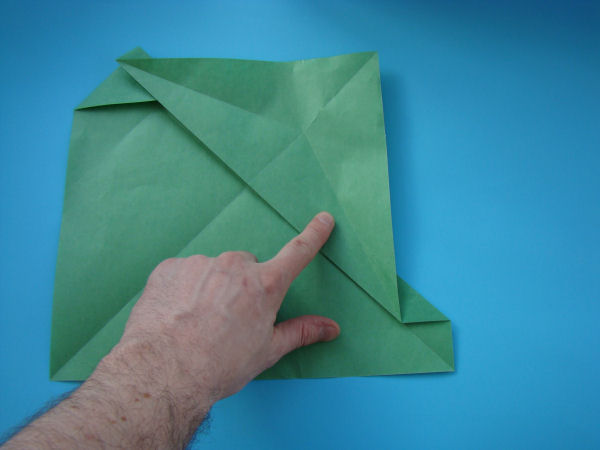
Step 7 Turn model over.
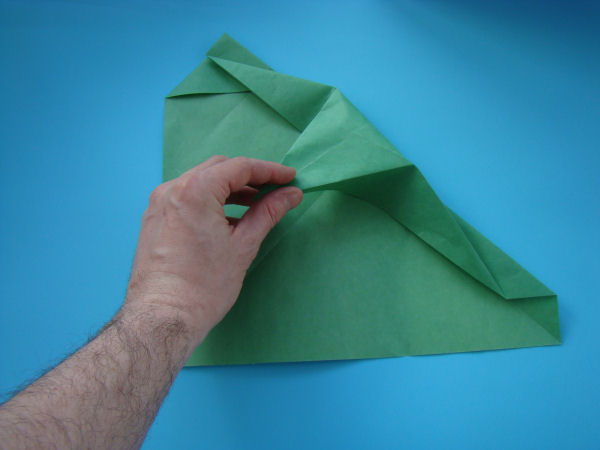
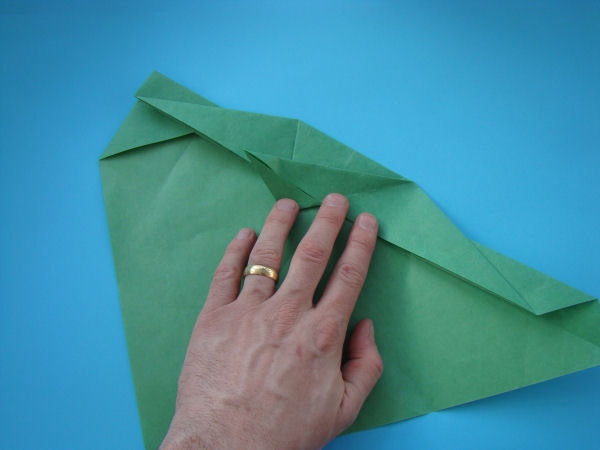
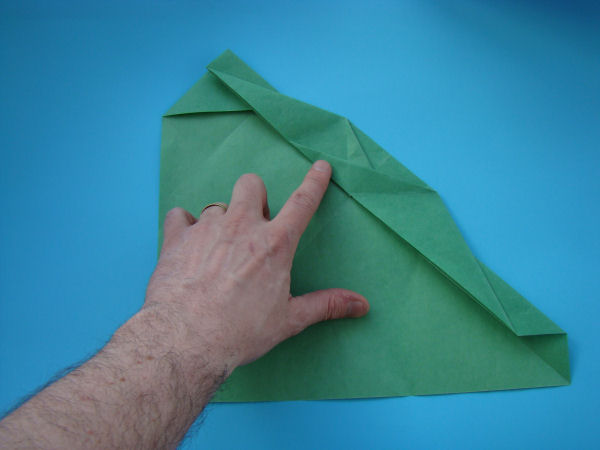
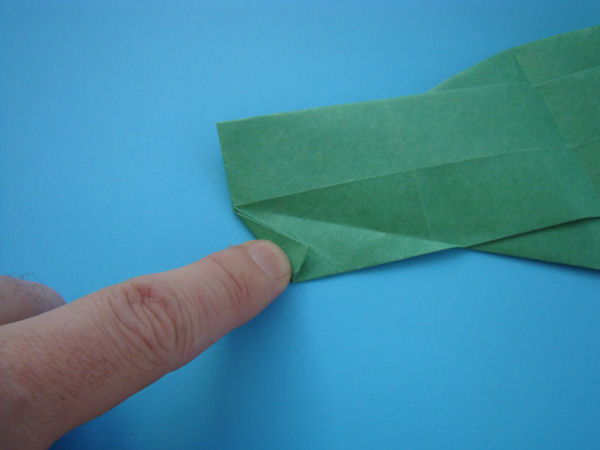
Step 8 Fold the edge to the centre and let the flap follow.
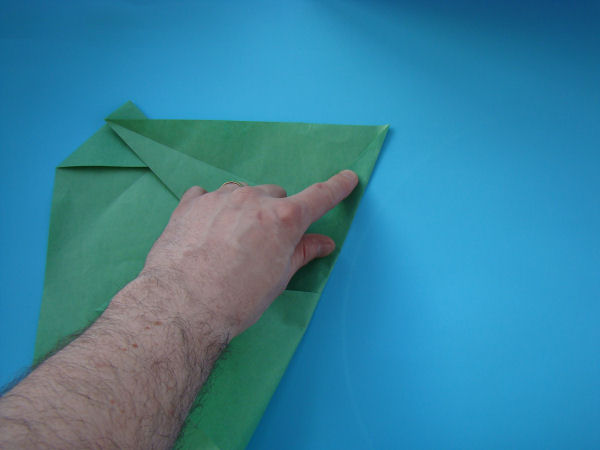
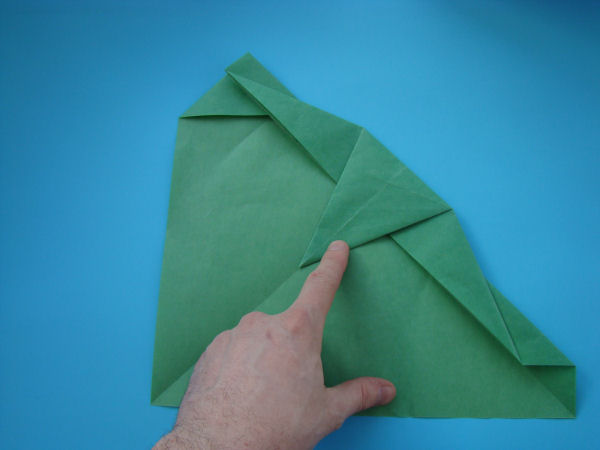
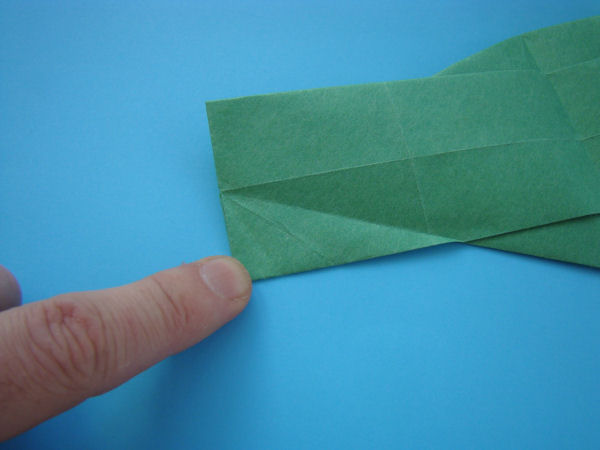
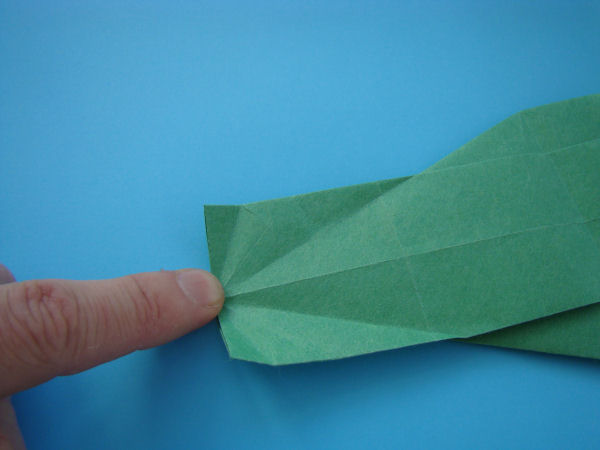
Step 9 Bisect the angle.
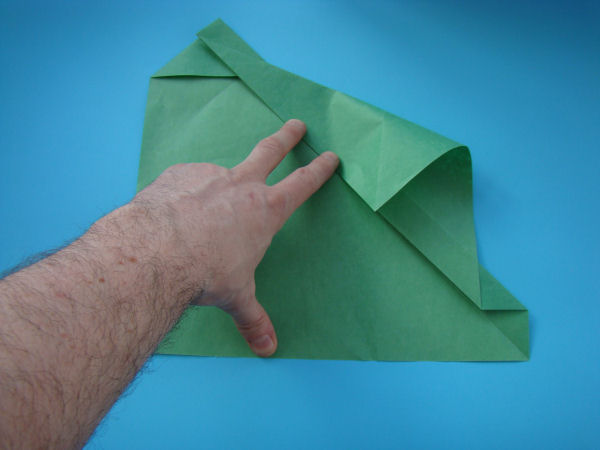
Step 10 Like so.
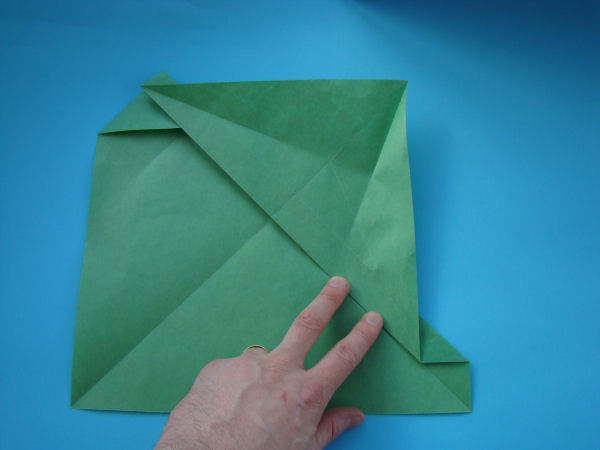
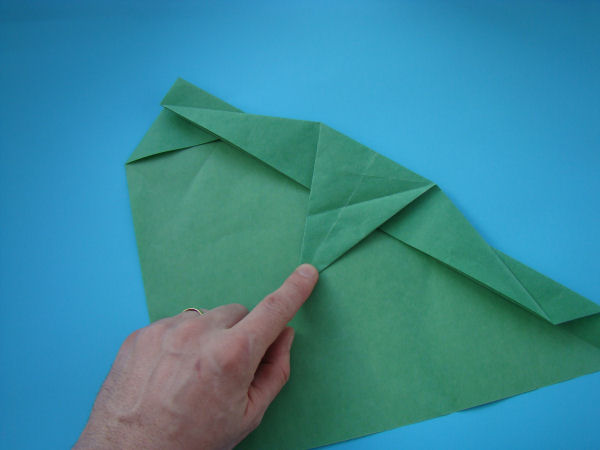
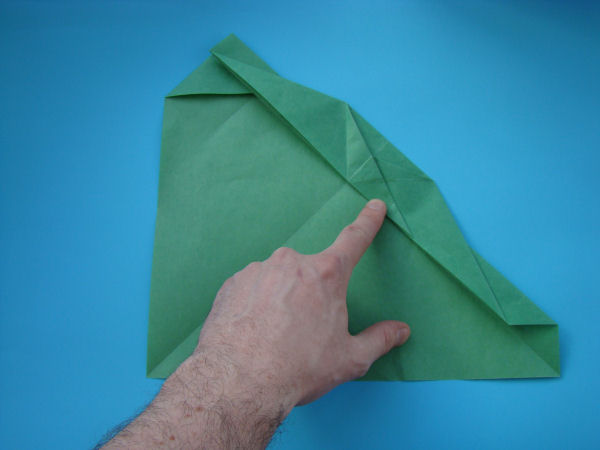
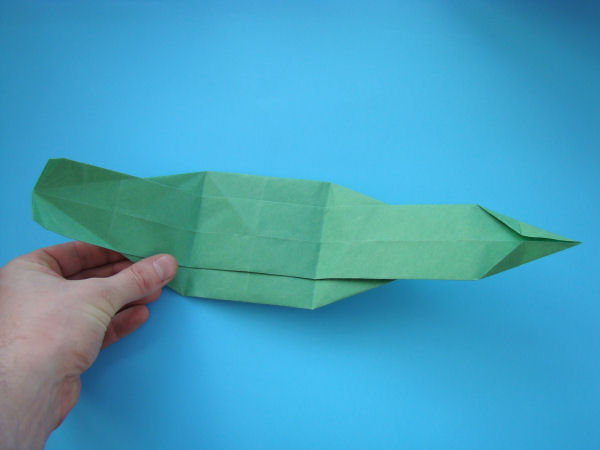
Step 11 Repeat at the other end.
Step 12 Bisect the angles on the flap.
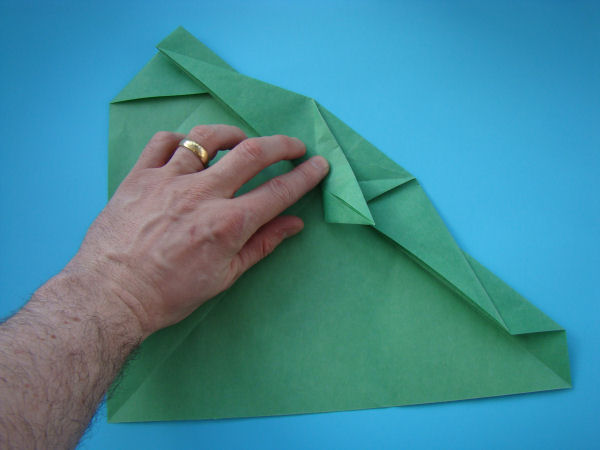
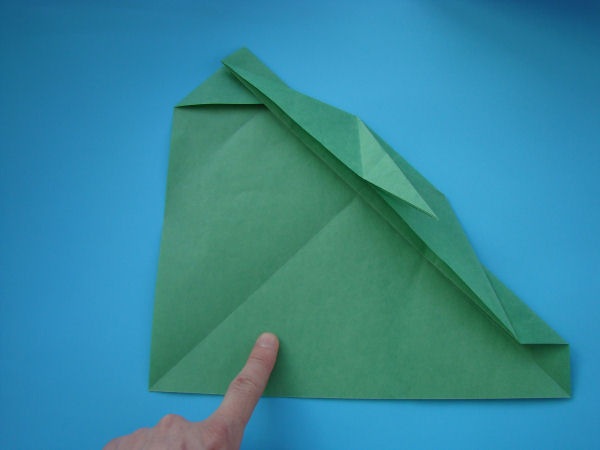
Step 13
Step 14
Step 15 Like so.
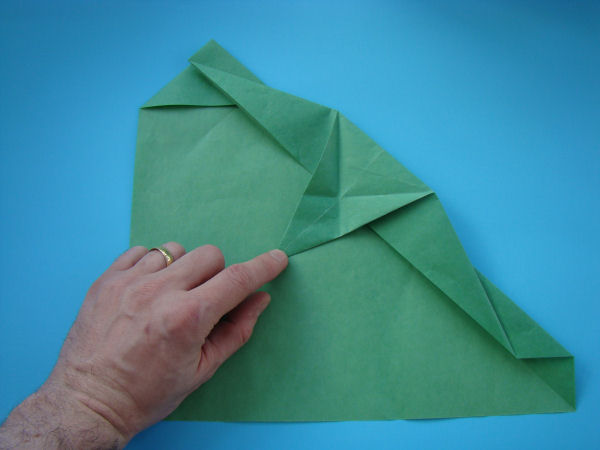
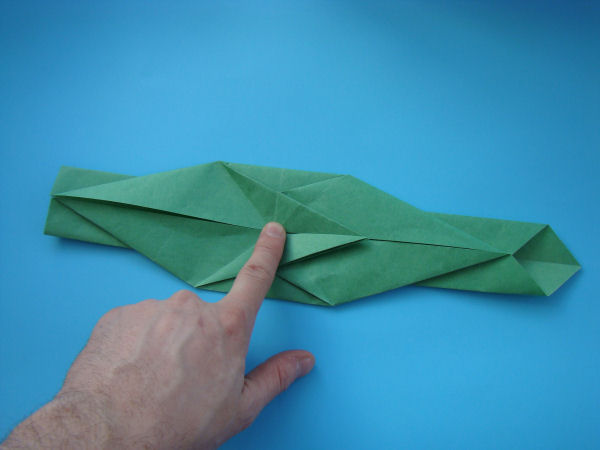
Step 16 Squash down.
Step 17 Like so.
Step 18 Fold and unfold.
Step 19
Step 20 Fold and undfold.
Step 21
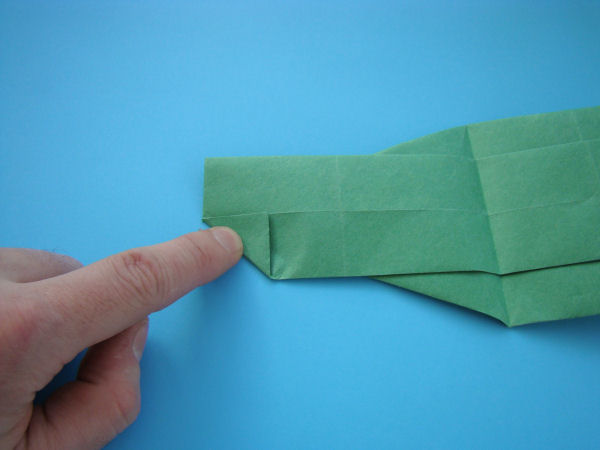
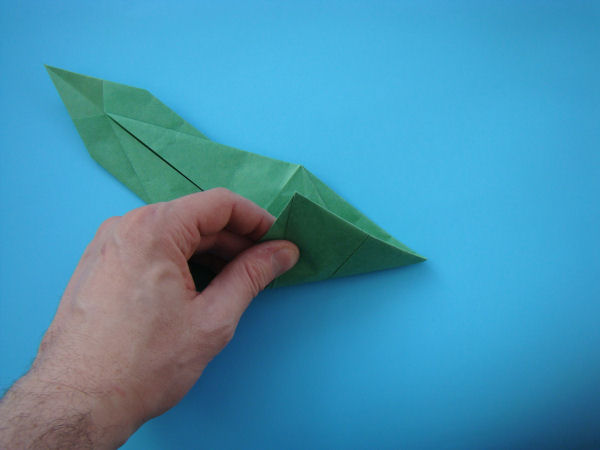
Step 22 Rabbit-ear and fold flat.
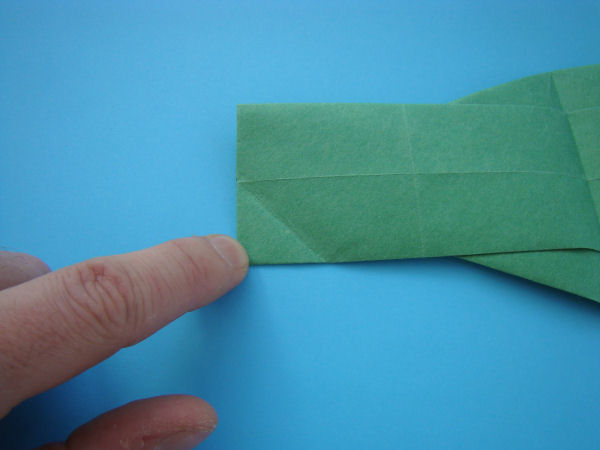
Step 23 Fold the flap over.
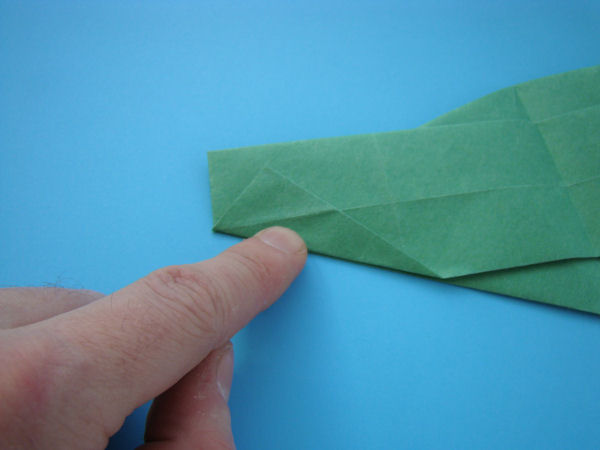
Step 24 Repeat steps 5 to 23 on the other side.
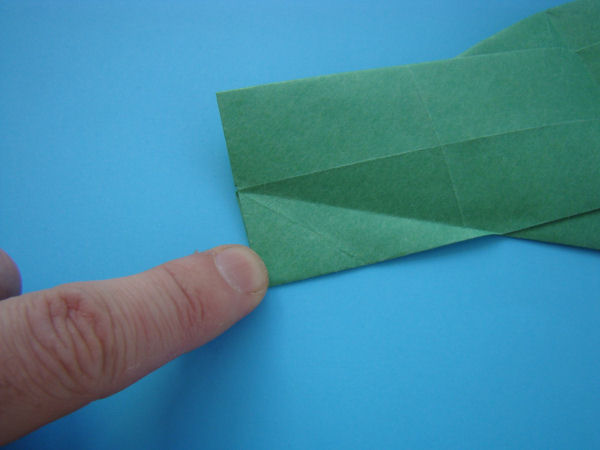
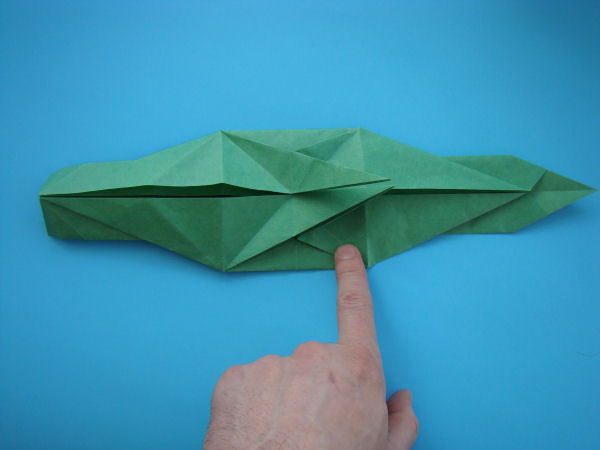
Step 25 Like so.
Step 26 Turn over.
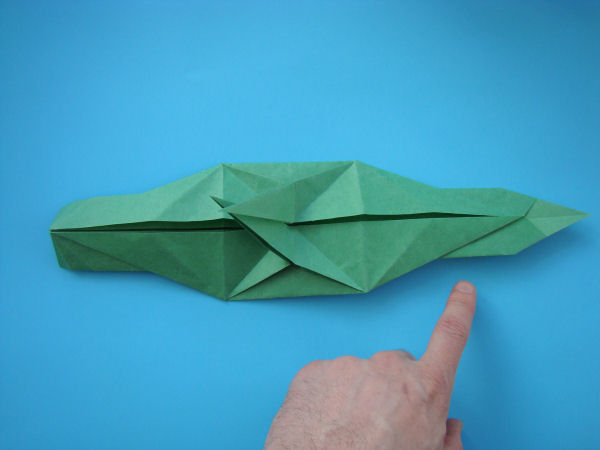
Step 27
Step 28 Fold and unfold. Note where the crease is.
Step 29 Like so.

Step 30 Another precrease.
Step 31 Fold and unfold.
Step 32
Step 33 Valley fold. Bisect the angle. Unfold.
Step 34 Like so.
Step 35 Bisect the angle. Unfold.
Step 36 Like so.
Step 37 Repeat steps 31-36 on the other side.
Step 38
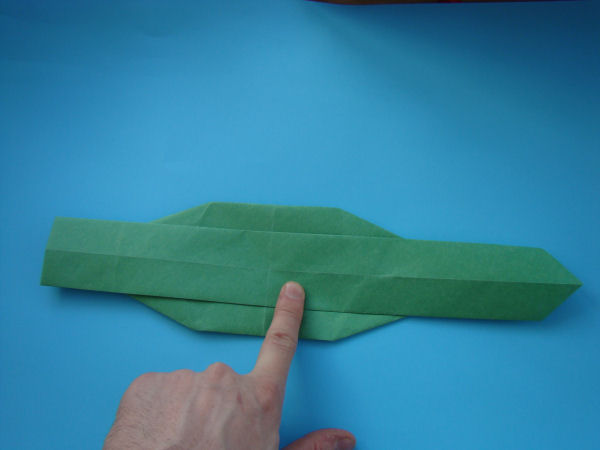
Step 39 Fold across like so.
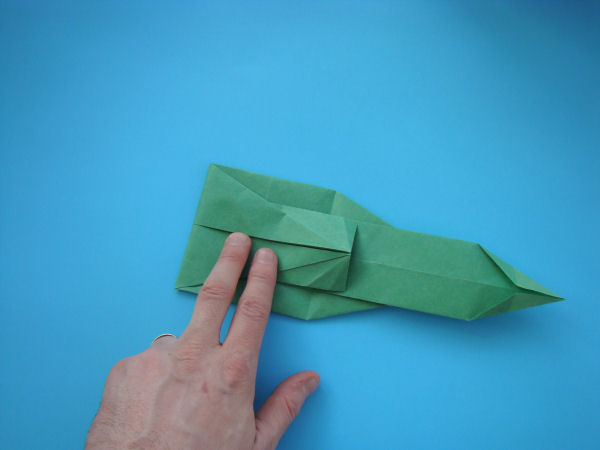
Step 40 Create two pre-creases.
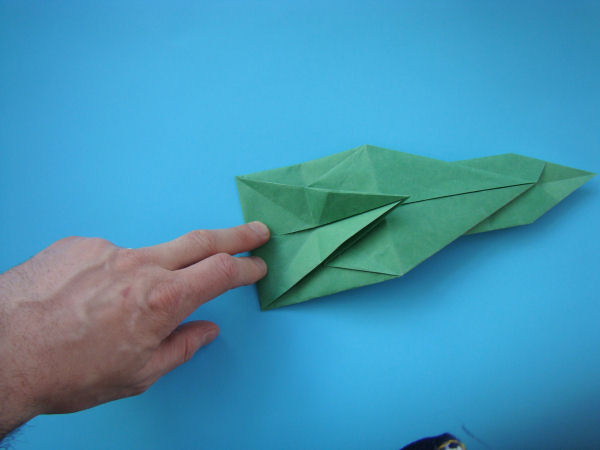
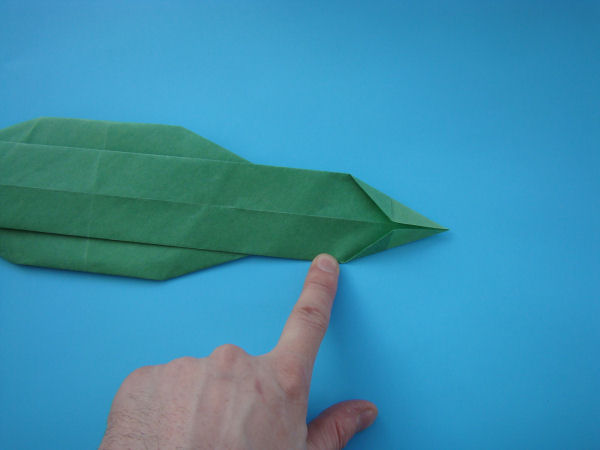
Step 41 Repeat step 40 through all layers.
Step 42 Like so.
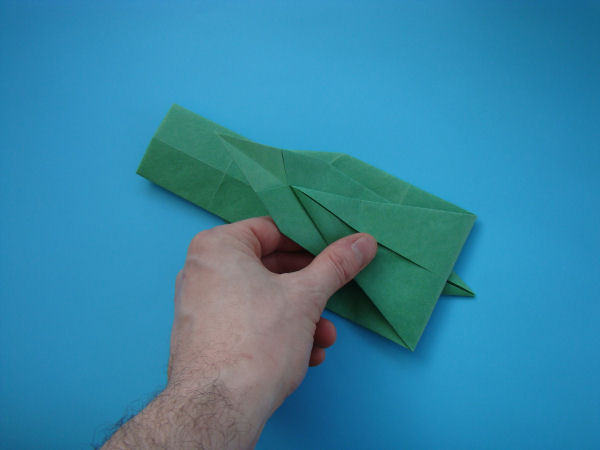
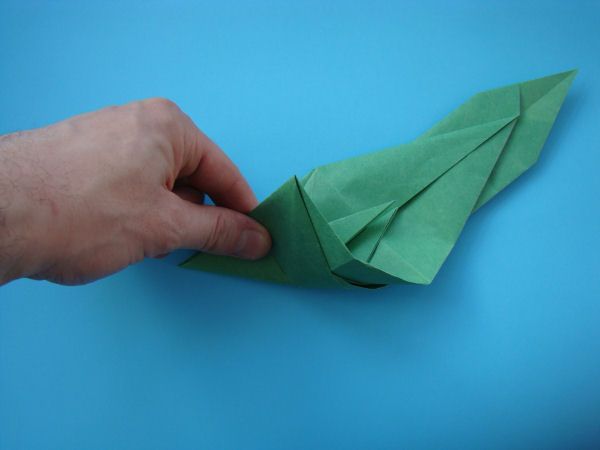
Step 43 Do the same at the other end.
Step 44 Like so.
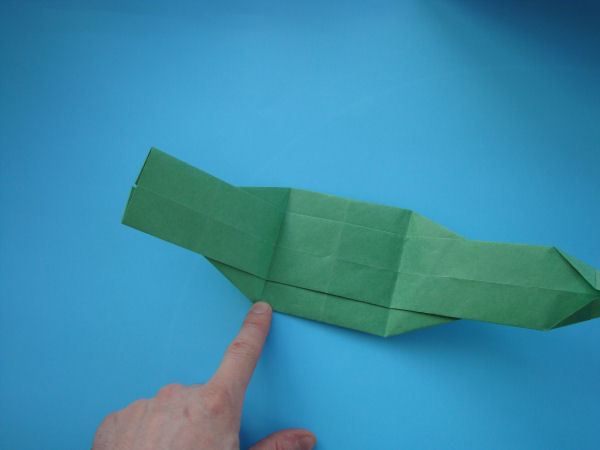
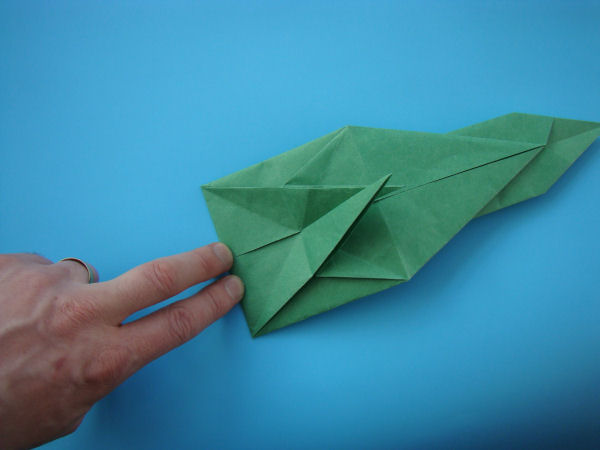
Step 45 Now form the tail.
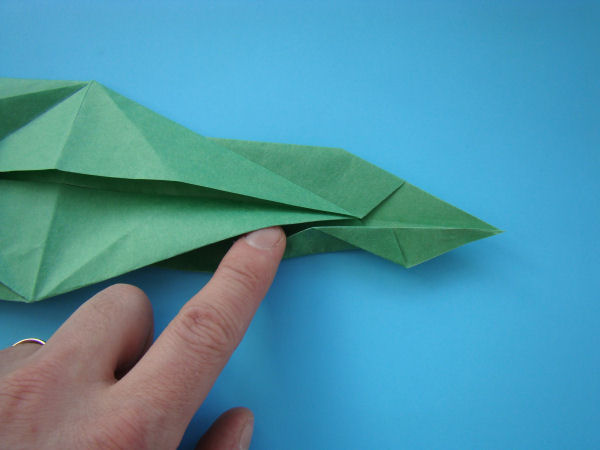
Step 46 Fold over.
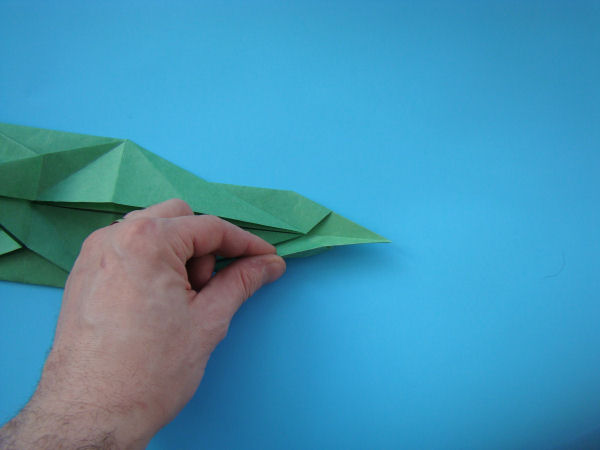
Step 47 Tuck the layer under the one shown.
Step 48 Like so.
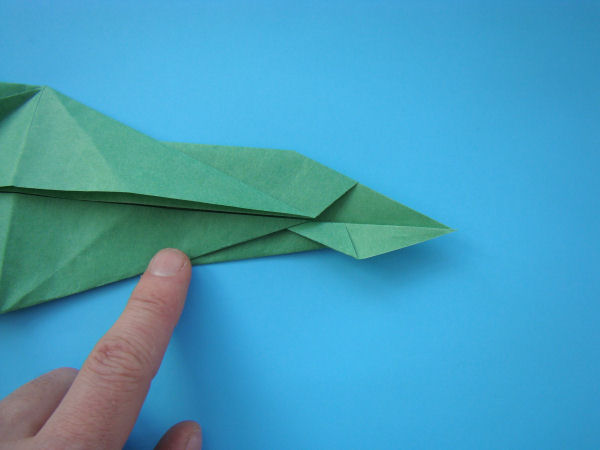
Step 49 Repeat on the other side.
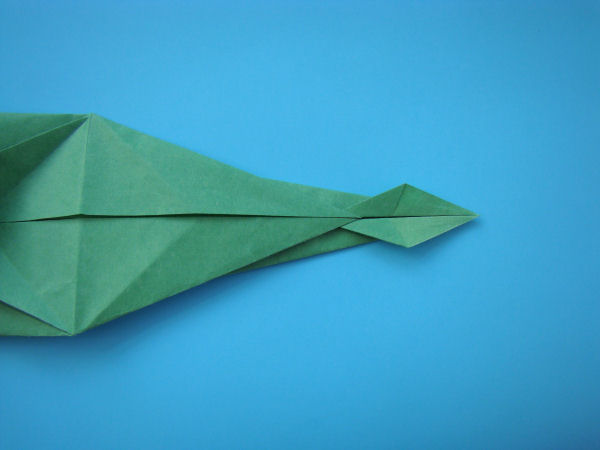
Step 50 This end will become the head.

Click here for next page.