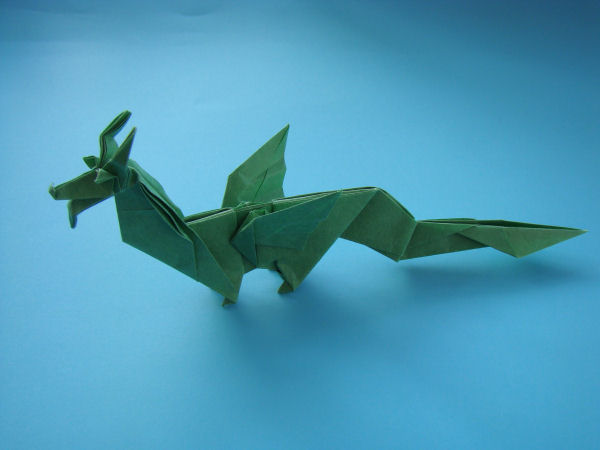
Dragon Photo Diagrams
I have probably folded this model more times than any other origami model. I folded it as a present for my wife on our very first date! Like many origami dragons, it derives from a stretched bird base. I have incorporated a pleat into it, and added a half-frog base to form the facial features. This model is high-intermediate, and can be folded from almost any paper. I have used a 40cm sheet of craft paper below.
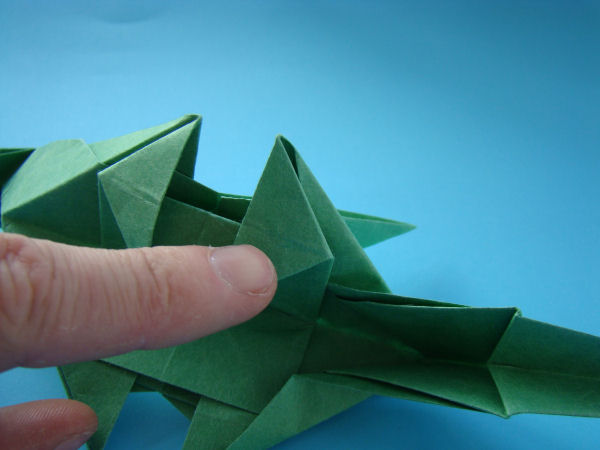
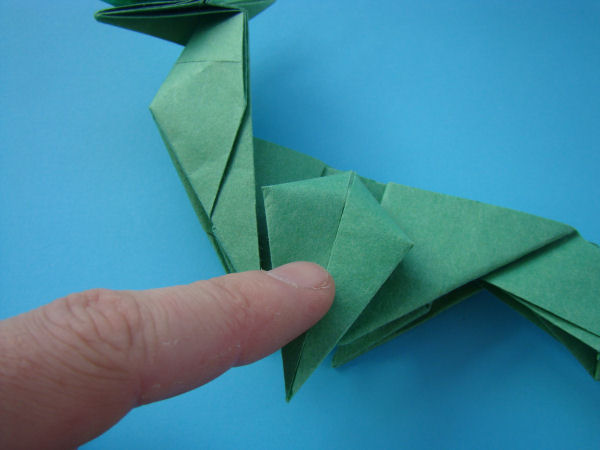
Step 101This is part of a 3D crimp. The mountain folds are already in place.
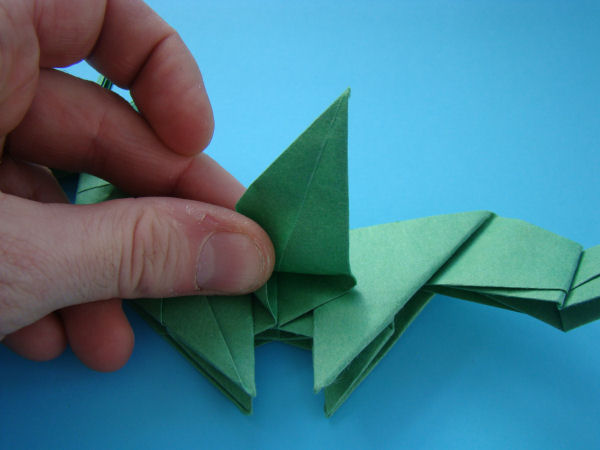
Step 102 Flatten the model.
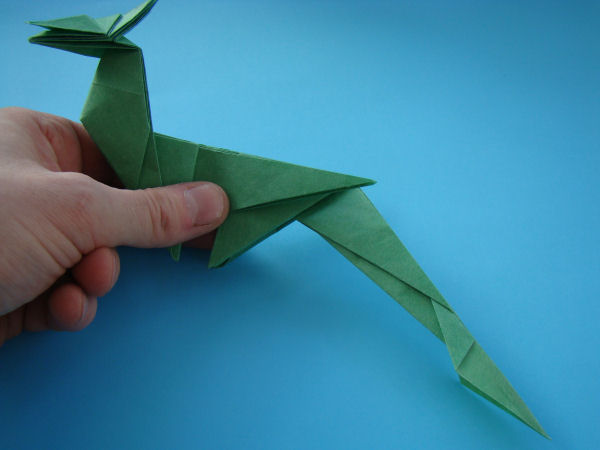
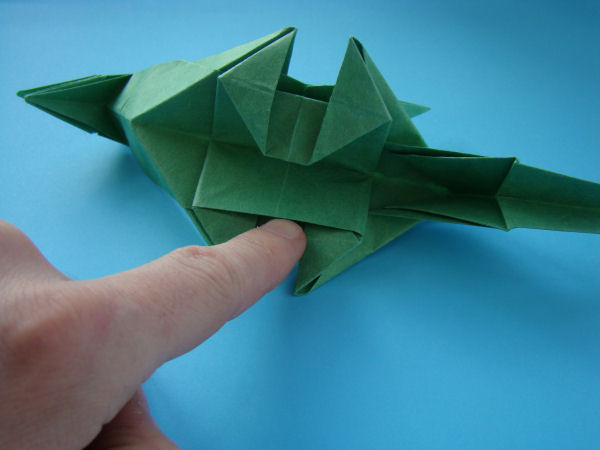
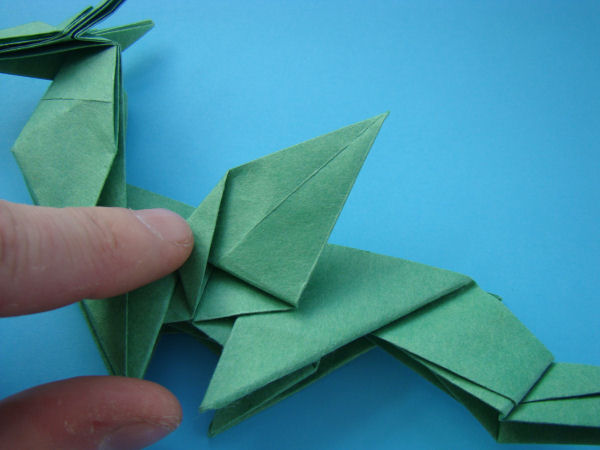
Step 103 Put another crimp into the tail. Once the legs are formed, you may want to adjust this fold.

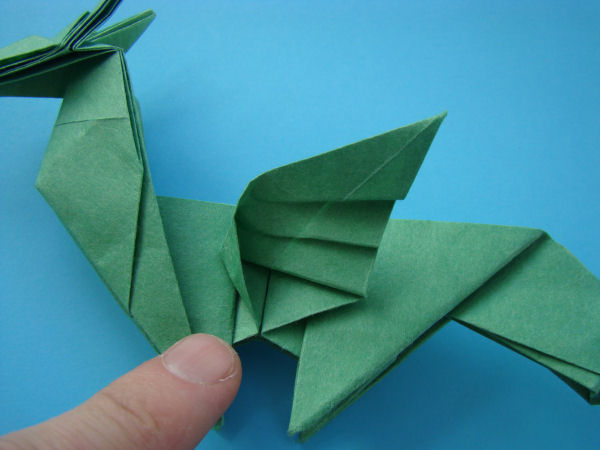
Step 104 Open the model.
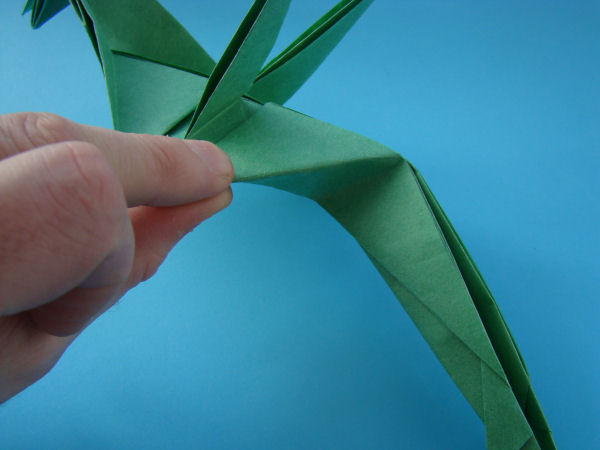
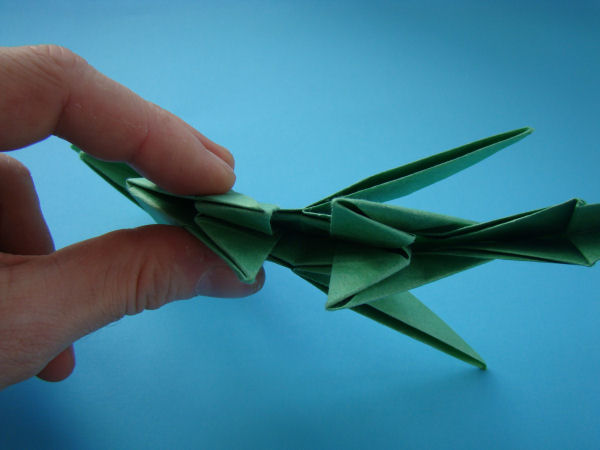
Step 105 Untuck this layer. The model will not fold flat yet.
Step 106 Repeat on the other side. As indicated in step 96, insert the flap into the pocket.
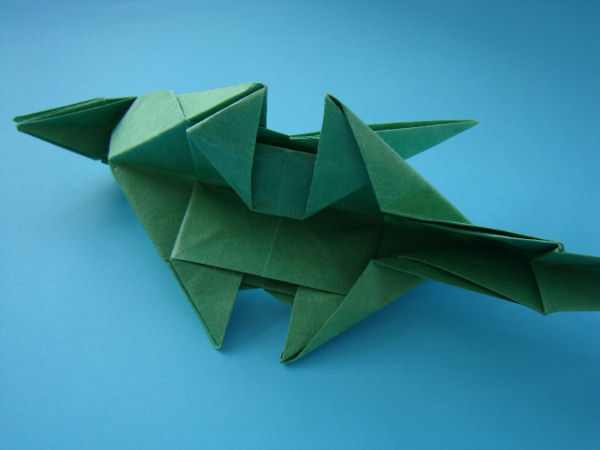
Step 107 And flatten the model.
Step 108
Step 109 Fold the wing down. Do not crease sharply.
Step 110 Make the crease as shown.
Step 111 Flatten the wing and shape.
Step 112 Insert some pleats into the wing.
Step 113 Reverse fold to form the front leg.

Step 114 Reverse fold.

Step 115 Swing the flap through to form the real leg.
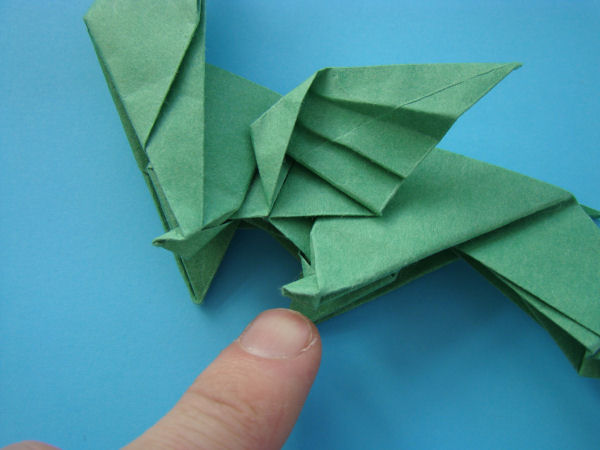
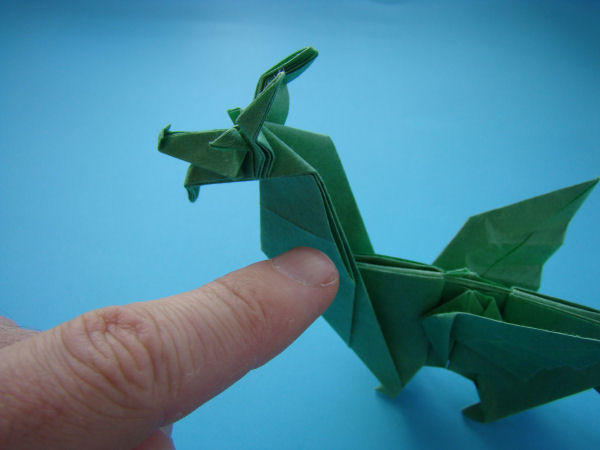
Step 116 The model should stand on all four legs now.
Step 117 Forming the face.
Step 118 Roll over the tip with two valley folds to form the upper lip.
Step 119 Pinch the snout.
Step 120 Like so - the lower lip and beard are formed.
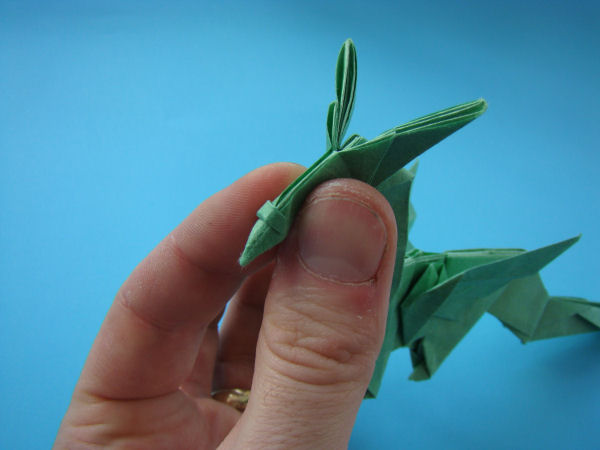
Step 121 Fold the eyes over.
Step 122 Two folds form the horns/ears.
Step 123 Open the mouth and flatten the side of the head.
Step 124 Press the tips of the eye flaps and open out the eyes.
Step 125 Form the mane by valley folding and open out the layers.
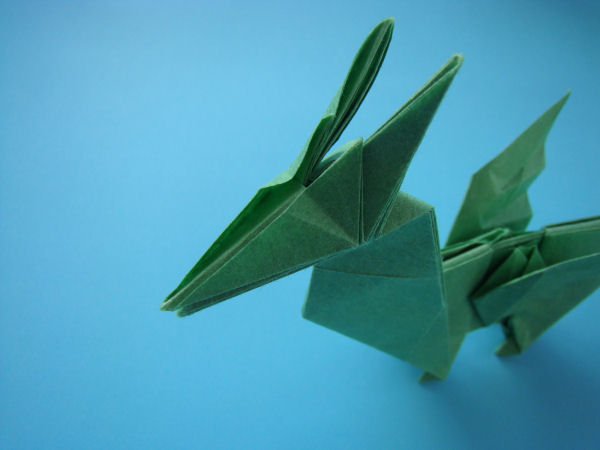
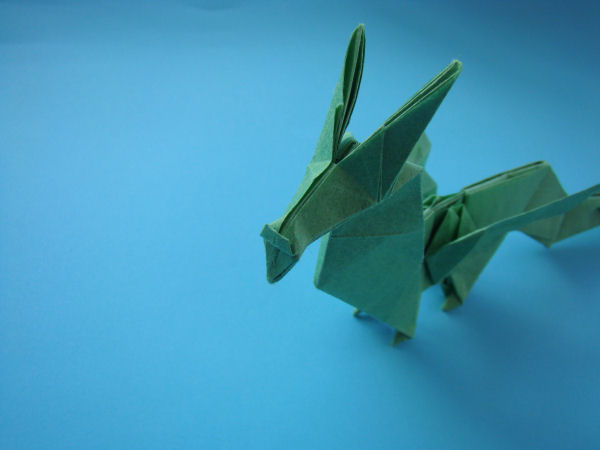
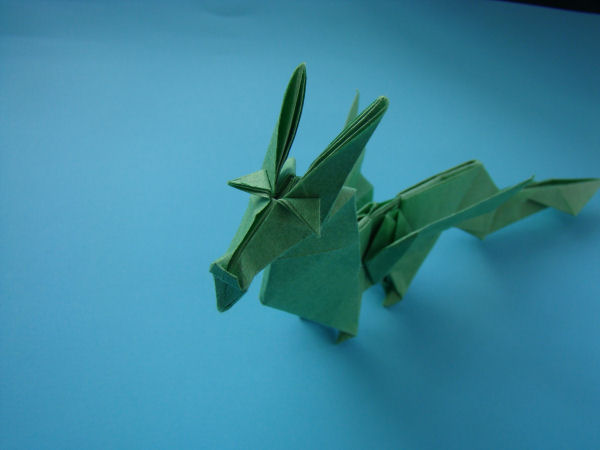
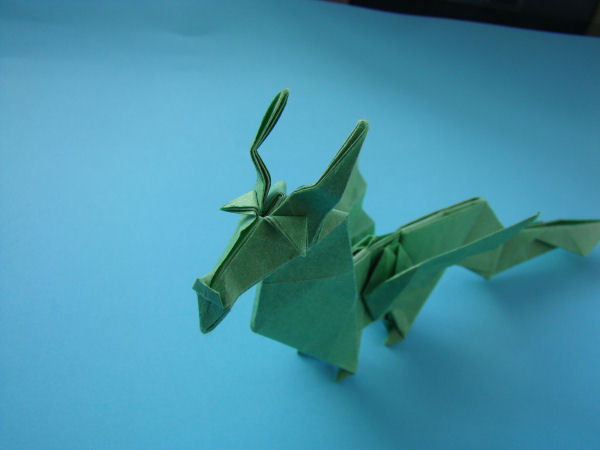
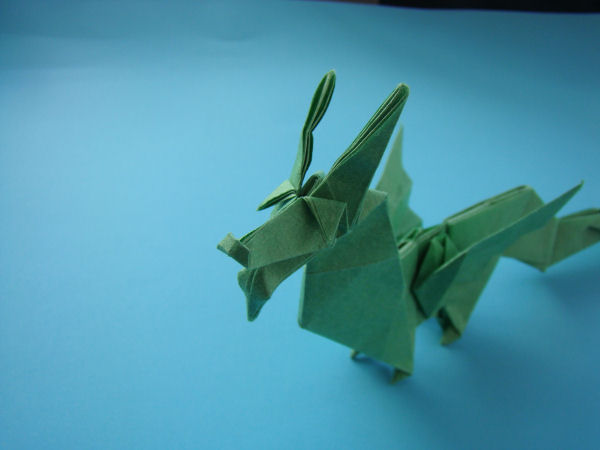
Step 126 Like so. Shape the model, adjusting the mane, mouth, eyes, horns and open out the tail tip.
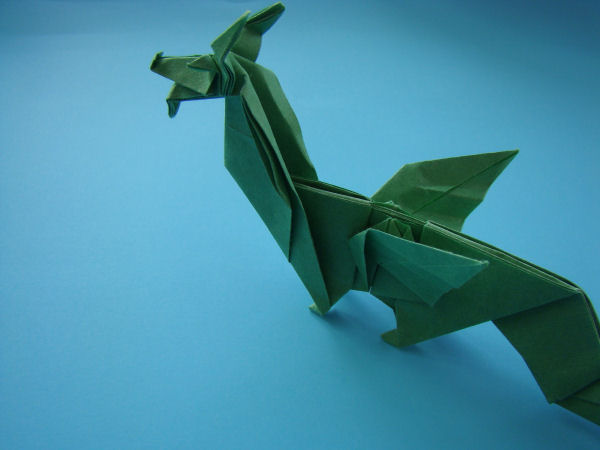
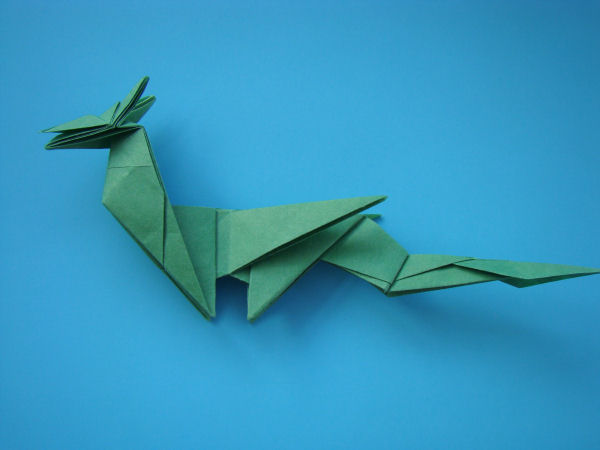
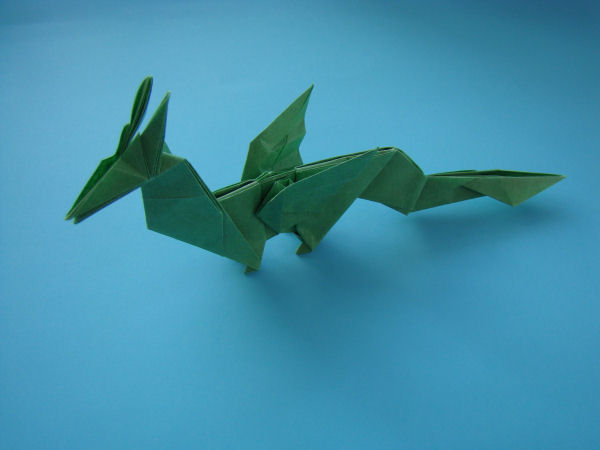
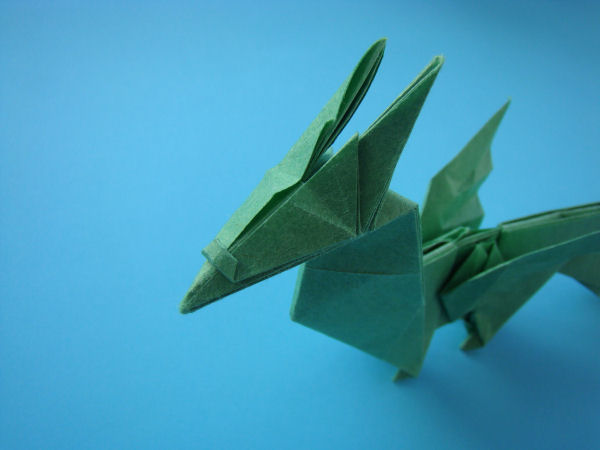
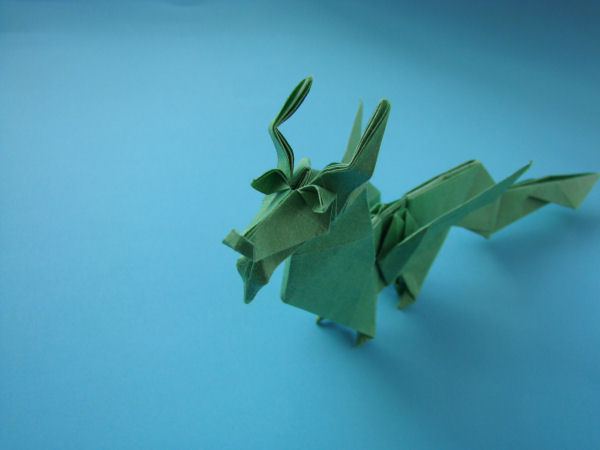
Step 127 Final model.
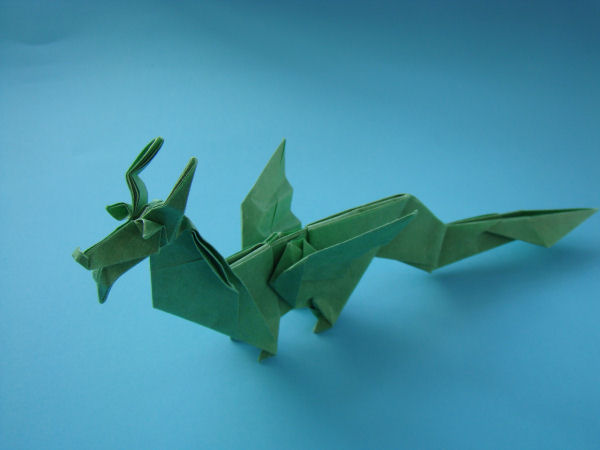
Step 128 Final model.